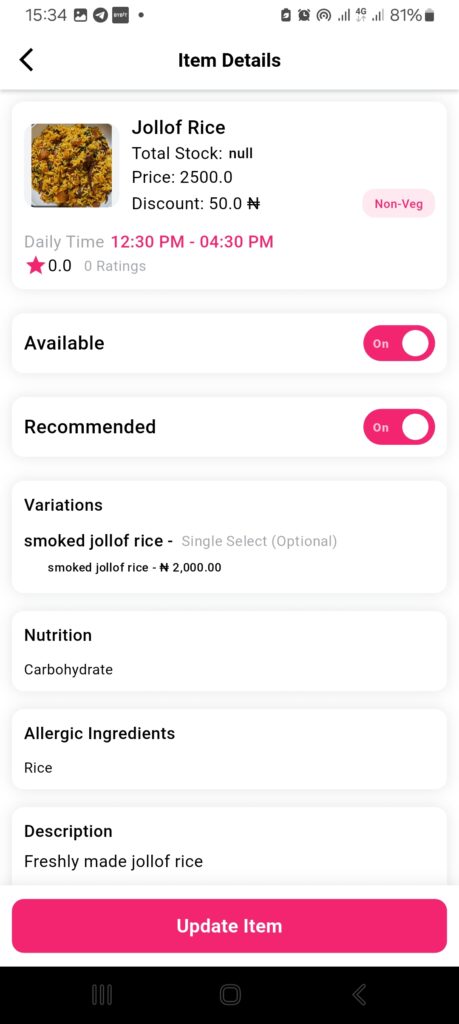
What’s the point of registering on an online platform if you won’t showcase everything you offer?
At 2Snappy, you can add as many food items as you serve – helping more customers discover and order from your menu.

Steps to Add Items to 2Snappy
- Log in to your restaurant account.
- Go to the Store section and tap the Plus (+) icon at the bottom right corner.
- Fill in the required details properly to ensure your food listing looks professional:
- Food Name
- Description of the dish
- Select the Category it belongs to
- Add Nutritional Information
- List any Allergenic Ingredients
- Choose whether it’s suitable for Vegetarians, Non-Vegetarians, or both
- Enter the Price
- If you offer discounts, enter:
- The discount amount or percentage
- Choose the Discount Type (percent or fixed amount)
- Set the Maximum Order Quantity (if you want to limit how many a customer can buy)
Add Variants (if available)
If the food has different versions, such as: Palm oil jollof rice vs Groundnut oil jollof rice. Add them as variants to allow customers to choose between options when ordering.
Addons (Optional)
If customers can add something extra to the meal – like a soft drink, extra meat, or side dish – add it under Addons. These are optional items the customer can select during checkout.
Use Tags for Better Visibility
Tags help customers find your food through search or filters. Example:
- Food Item: Jollof Rice
- Tags: jollof, spicy, rice, Nigerian, lunch, popular
Set Availability Time
Specify the time of day when the item is available. This is useful for breakfast-only or lunch-only meals.
Upload Images
Add a thumbnail image and add additional images at different angles, serving suggestions, etc.
Submit the Item
Once everything is filled, tap Submit to publish your food item.
Now your dish is live and visible to customers. The better your description and images, the more likely it is to be ordered!
